Step 2 – Setup Your Blog
Install Your Blog
Bluehost automatically installs your blogging platform WordPress when you sign up for the hosting account.
Didn't Signup with Bluehost yet? Click the button below
When you sign up through our link above, you will get the following:
- FREE one month access to our 30 Day Blog Challenge course (normally $397) and WordPress for beginners course (normally $197)
- FREE one month access to our exclusive blogger's community where you can get to meet the bloggers going through the challenge ($39/m)
- The BEST pricing available for Bluehost (cheaper than direct)
- Automatic install of the correct version of WordPress
- Free Domain for the first year!
Just make sure to click through our link to sign up for your hosting so we can easily find your blog and provide you these bonuses. After you have signed up for your new blog, send an email to matt@30dayblogchallenge.com to get access to further training.
Setup Your Blog
Go ahead and follow the following tutorial to setup your blog.
2.1. When you open our exclusive Bluehost link, this is what you see:
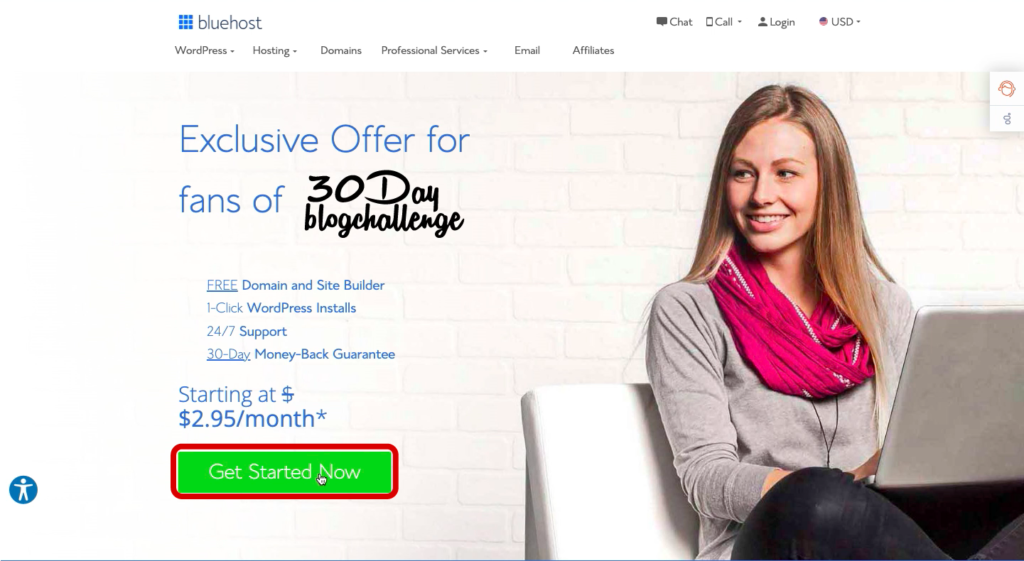
Click the “Get Started Now” button.
2.2. This will lead you to a page with all the plans available:
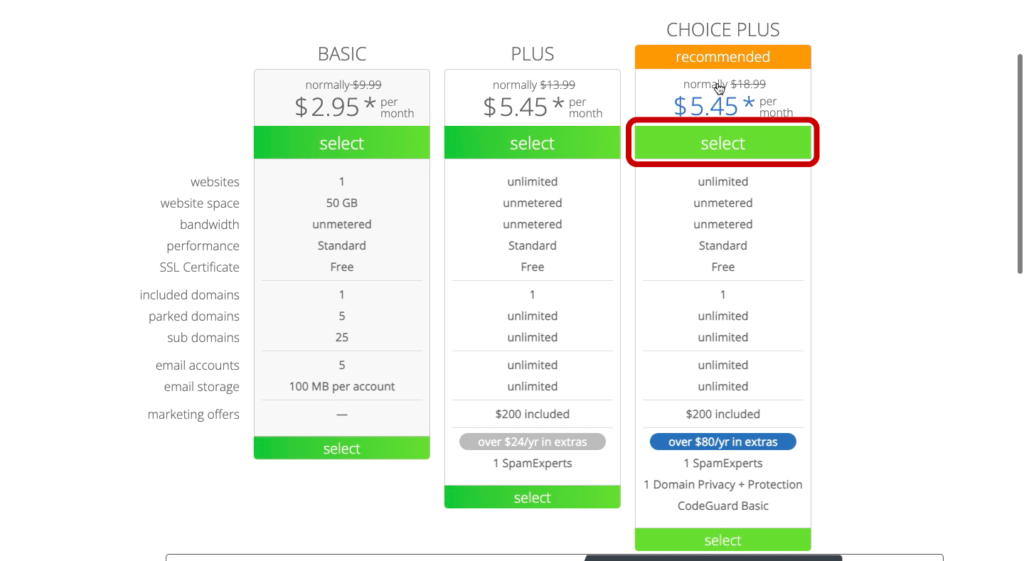
The Choice Plus plan is by far the best choice since it includes Domain Privacy and Protection which basically means people can’t find your name if they look up your domain.
It also features CodeGuard basic and over $80 in extras which include plugins and designer themes for your blog.
It also comes down to the same price as the Plus plan which is a plus (pun intended)!
2.3. Whenever you select the plan that suits your needs the best, you can set up your domain.
Think about a name that isn’t too complicated to read and write and that doesn’t have numbers or any other special characters on it.
Type it into the “Create a New Domain” popup as shown below.
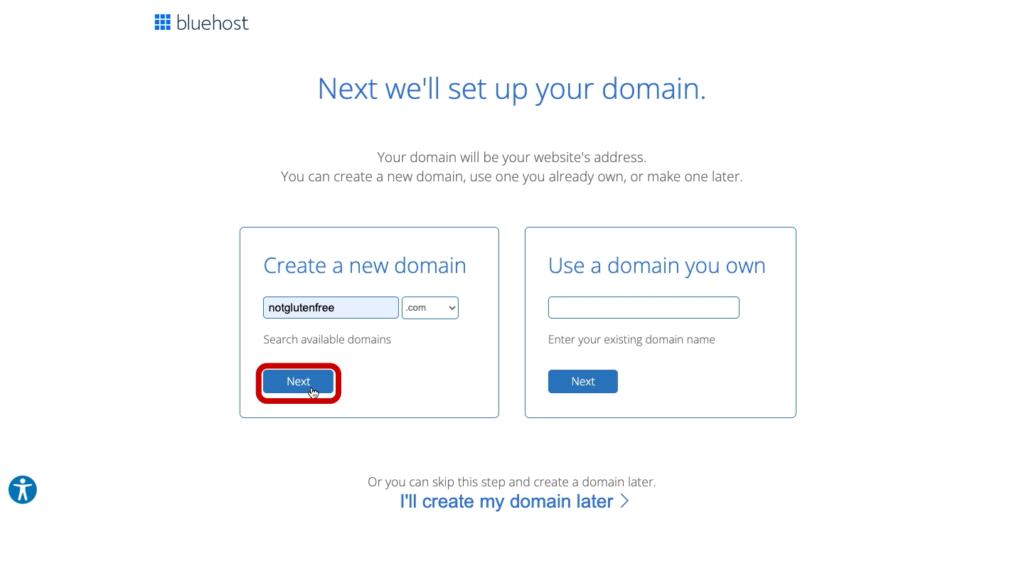
In case you already have a domain, you can migrate it to your Bluehost account by following the steps on the right popup.
2.4. Next, Bluehost will let you know if your domain is available. If it’s not, they usually inform you of similar domains that are available. If you don’t like any of them, just pick a new one.
Insert your account information and billing details so you can proceed to get your domain and account.
Whenever you are done, you will find the following window where you will be able to create your website.
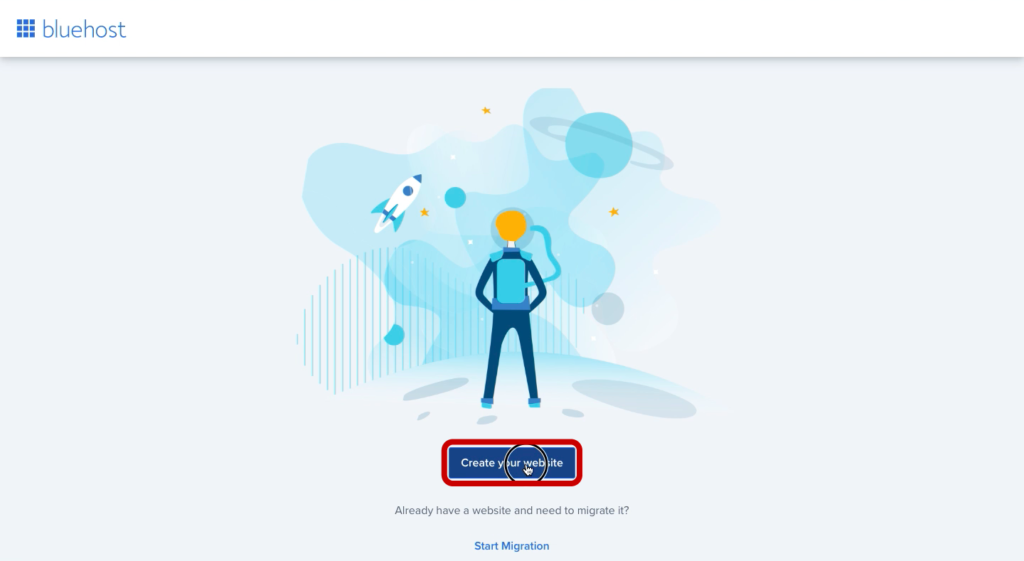
2.5. Click “Create your Website”.
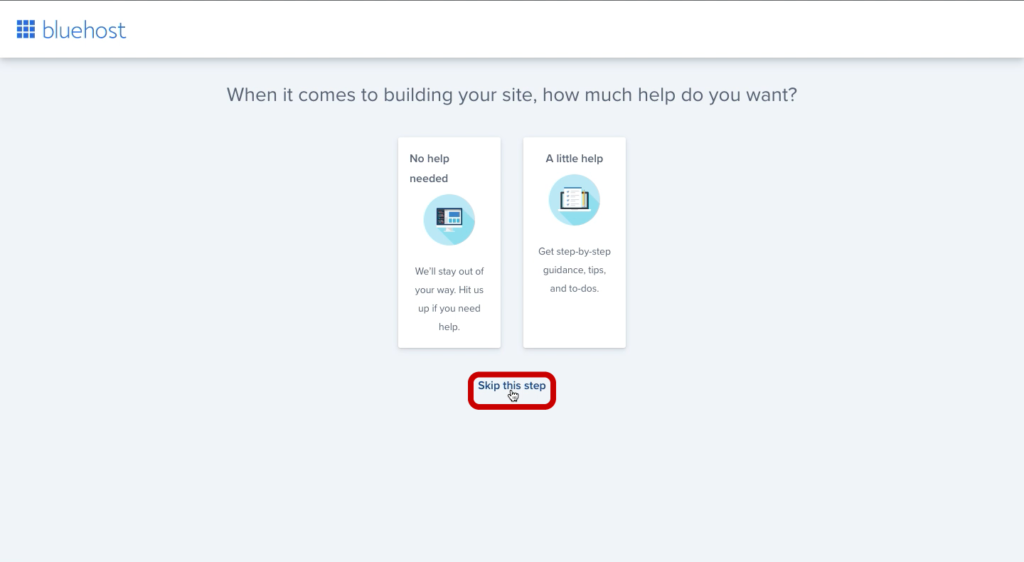
2.6. In the next step, we are getting ready to set up our website! Bluehost offers a step-by-step guide in case you need extra help. It is quite intuitive as you will see in the next screenshots so just click “Skip this step”.
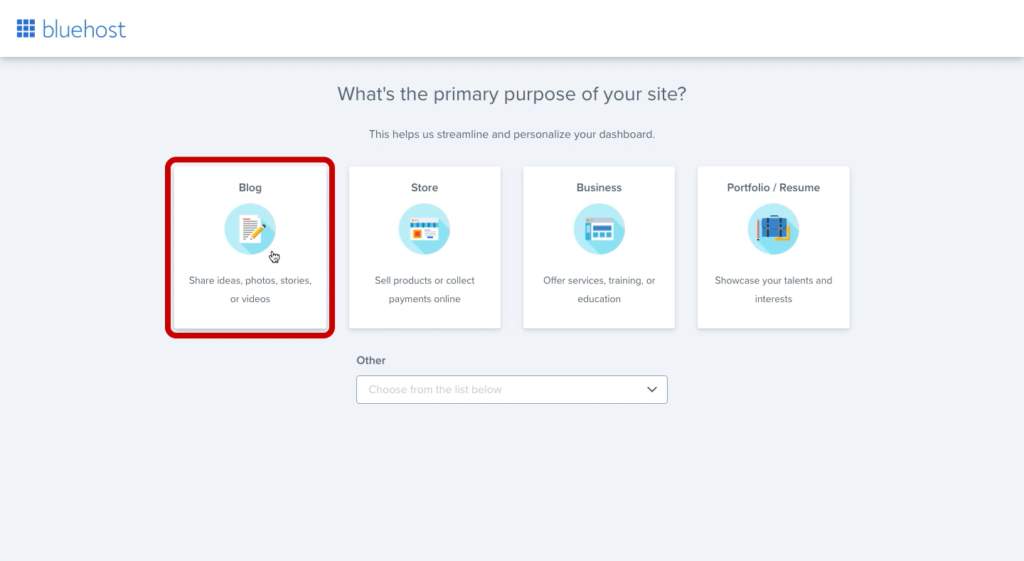
2.7. Next up, let’s choose the purpose of your website. Select “Blog” as shown below:
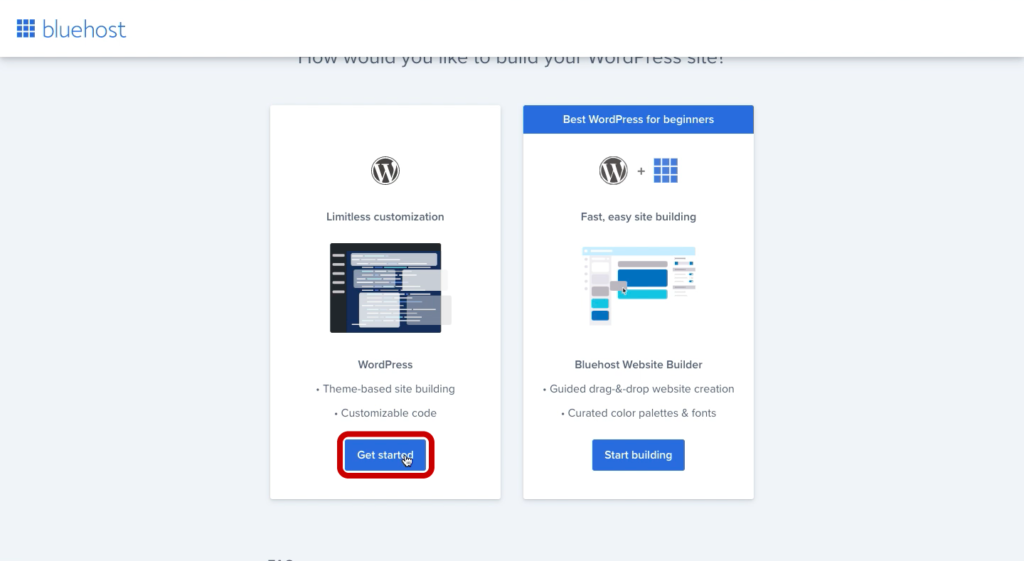
2.8. On the following step, Bluehost gives you the option to use their Website Builder tool. For the purpose of this tutorial, we are going to choose the “Limitless customization” option which allows us to explore all themes available. Feel free to explore the Website Builder tool as you wish.
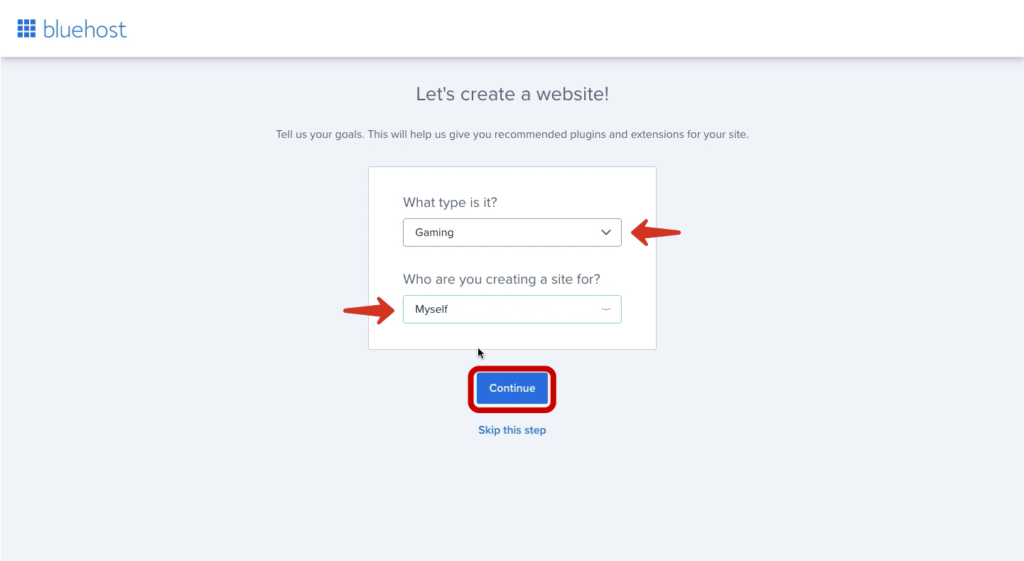
2.9. Next up, select your niche and who you are creating the website for.
2.10. Now, fill in the gaps with your blog name and a short description of it.
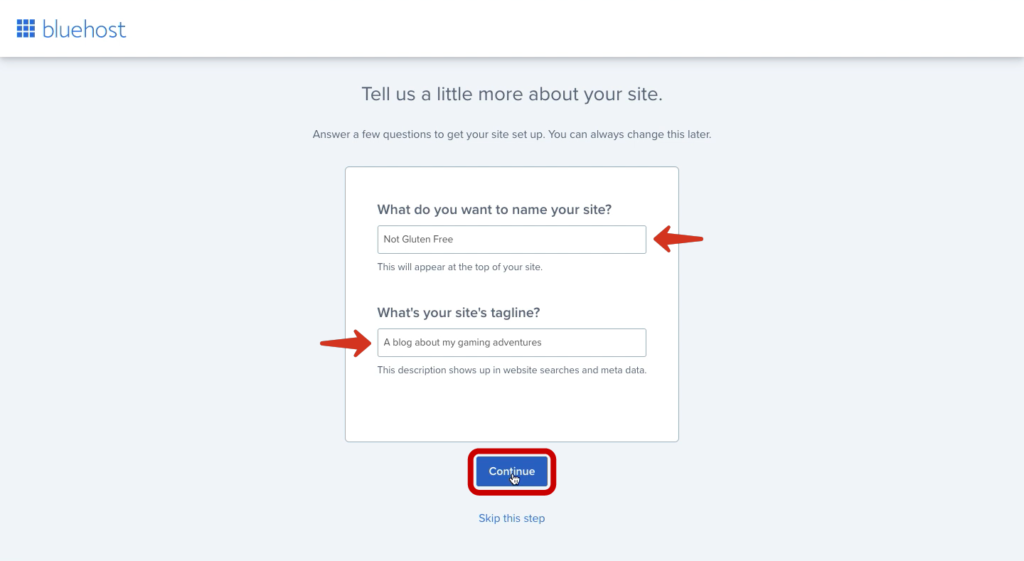
2.11. Now, let’s choose a theme! They have several categories to explore, select “Blog” to check what themes are more appropriate for blogging.
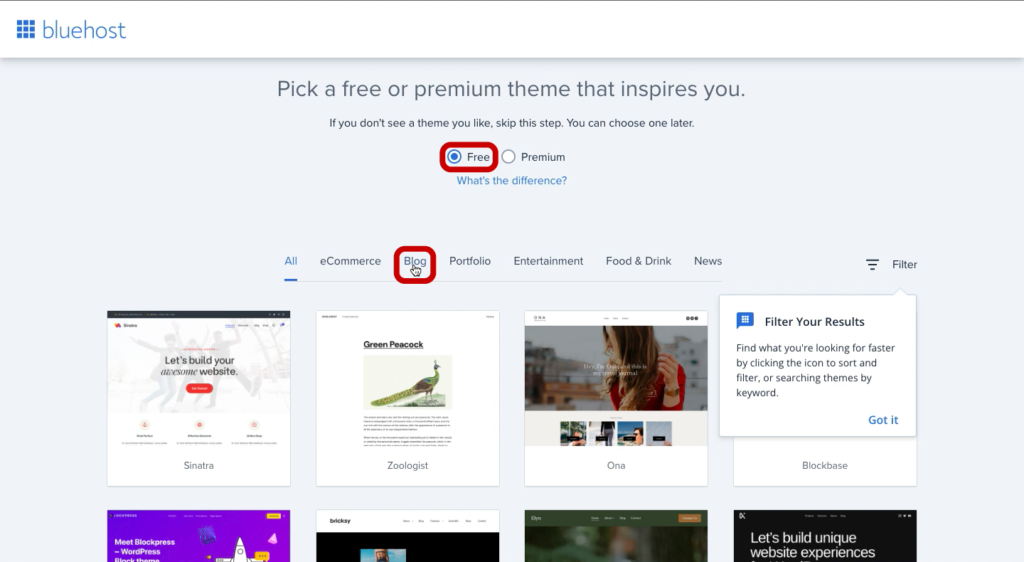
2.12. Scroll through and pick a theme. Whenever you find one you like, click “Use this theme”.
2.13. You will finally be led to the Bluehost dashboard where you can access WordPress directly. Feel free to explore around and play with customization and plugins.
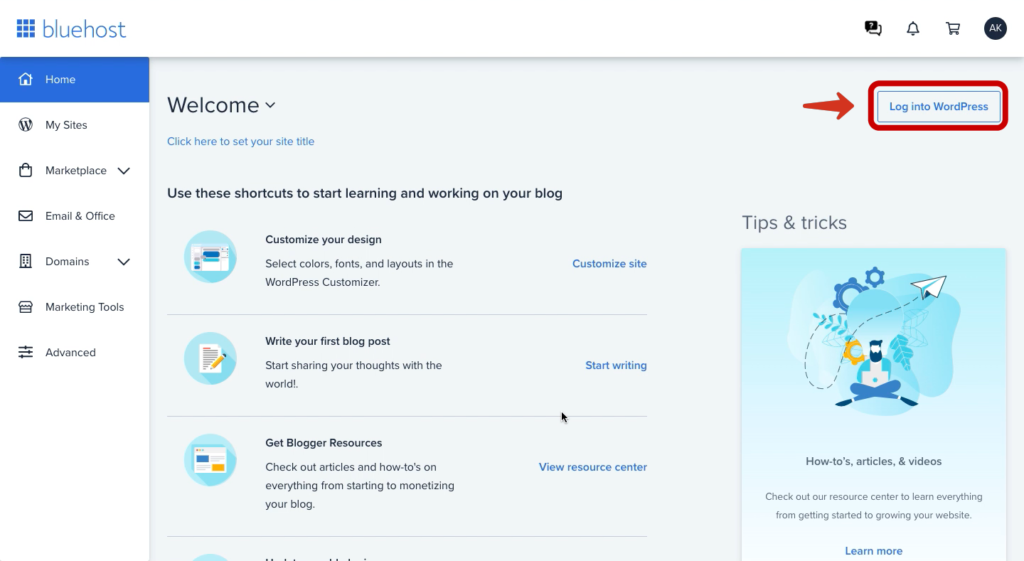
2.14. Whenever you access your Bluehost dashboard, click the “Log into WordPress” button and your browser will open the WordPress dashboard in another window.
Your WordPress dashboard is the most important tool and overview of your blog. It is where you can:
- design and customize your blog;
- install any plugins or extensions;
- check the health status of your website;
- access all the analytics and marketing tools;
- optimize your website to the max.
This is what it looks like:
On your left you can find the menu with all the different sections to manage your website. You will learn all about it in the actual challenge! Right now, we will just setup your blog so you can start the challenge with a clean canvas 🙂
2.15. Now, hover over the “Plugins” button and click on “Installed Plugins”.
Hosting companies often make affiliate partnerships with plugin developers so, whenever you get a host for your website, those plugins come installed by default.
2.16. Let’s check the ones we have installed and delete all plugins that are not needed.
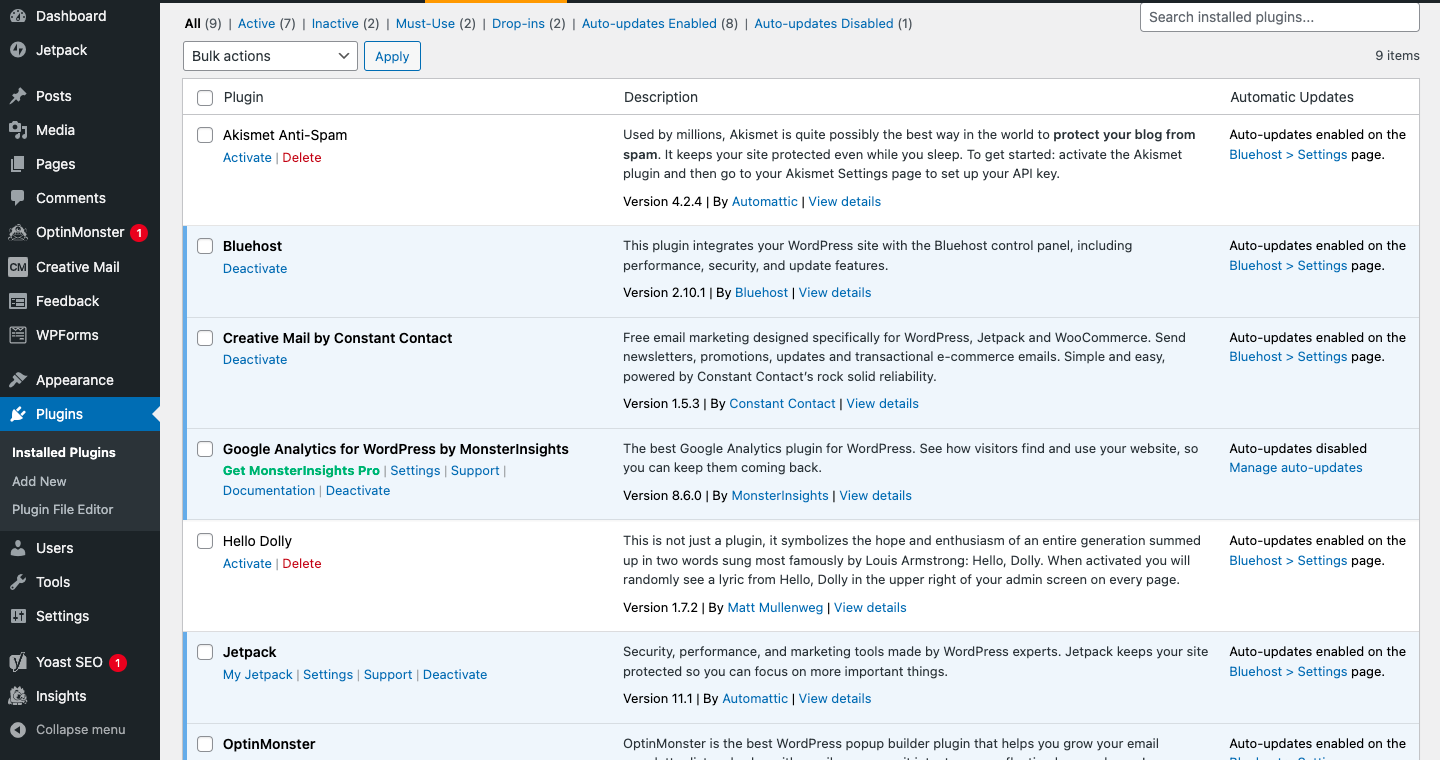
Let’s keep the plugins highlighted in blue for now, since it is part of your default theme. Click on the delete button on the Askimet Anti-Spam and Hello Dolly plugins..
Next, we are going to explore the Settings section and see what we can do to customize your website even further.
2.17. Hover over “Settings” and select “General”.
This is what your screen should look like now:
2.18. Feel free to update your Site Title, Tagline, Administration Email Address and even the URL to match your blog concept. We will get a domain later.
Whenever you are ready, scroll down to the end of the page and click “Save Changes” as shown below.
2.19. Next, let’s head to “Permalinks” which falls under the Settings category, as shown above.
This is what your screen will look like:
2.20. Select the Post Name option for your custom URL structure and then, scroll down to the end of the page and click “Save Changes”.
Now, let’s take a look at your website!
2.21. Hover over the “Home” icon on the top left corner as show below, and click “Visit Site”
2.22. It will redirect you to your very own website! It should look like this:
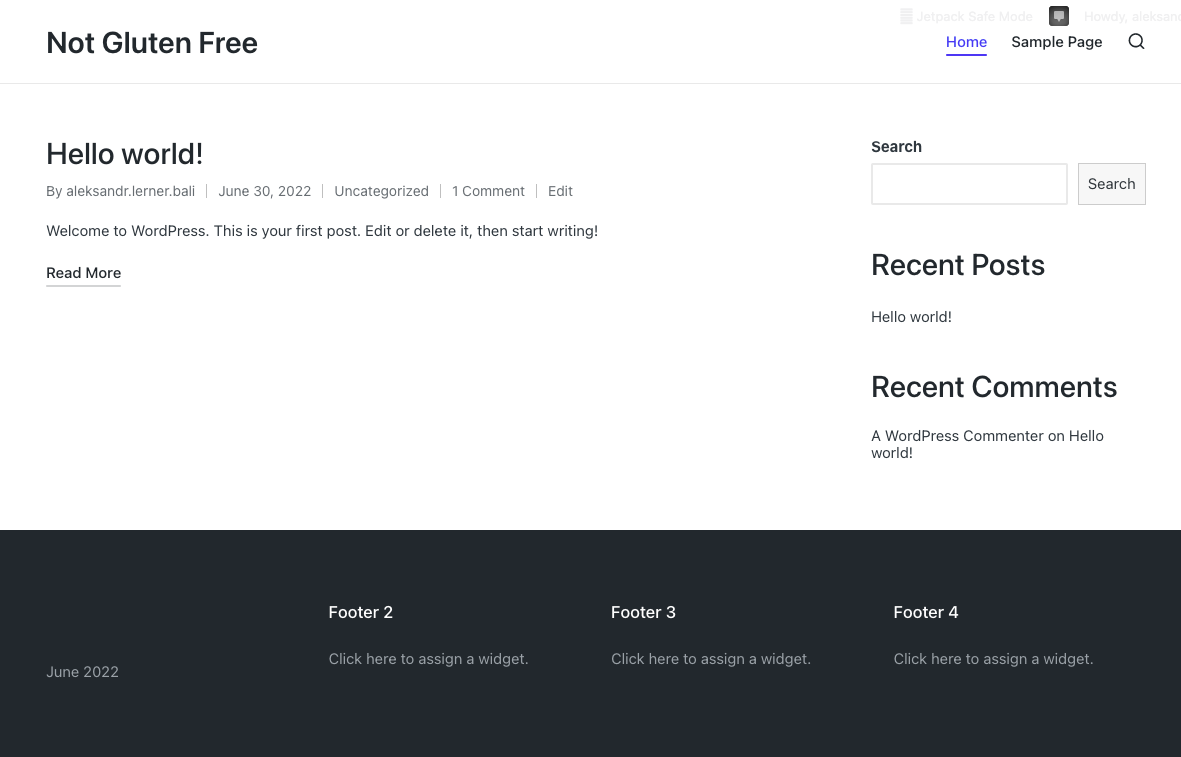
It’s still quite raw but you now have a website out there! How exciting is that?
Didn't Signup with Bluehost yet? Click the button below
