Step 4 – Design Your Blog
Install & Activate the theme.
Download the theme. Its fairly straightforward. Remember that you have to store the file as a zip file in your PC and not in the unzipped format.
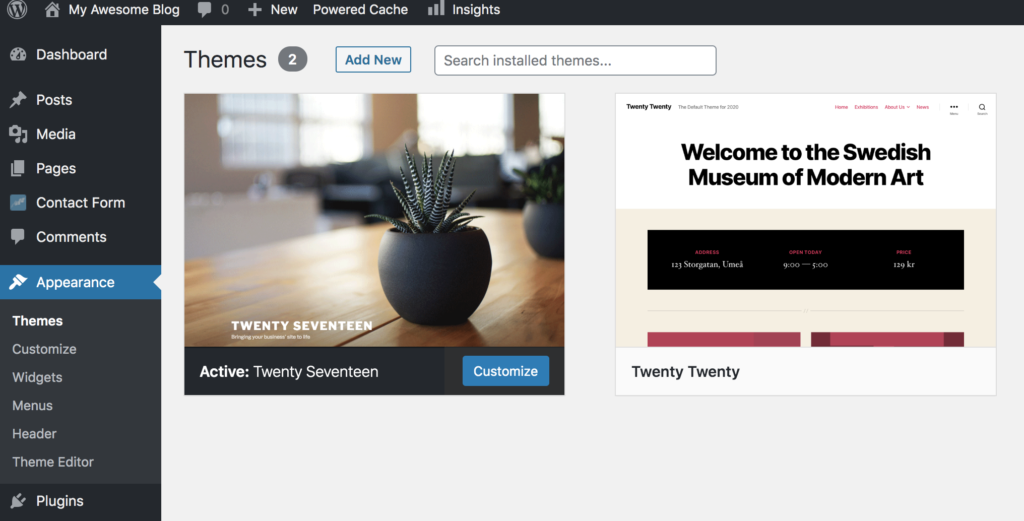
Navigate to Appearance->Themes from your WordPress dashboard. Click on Add New
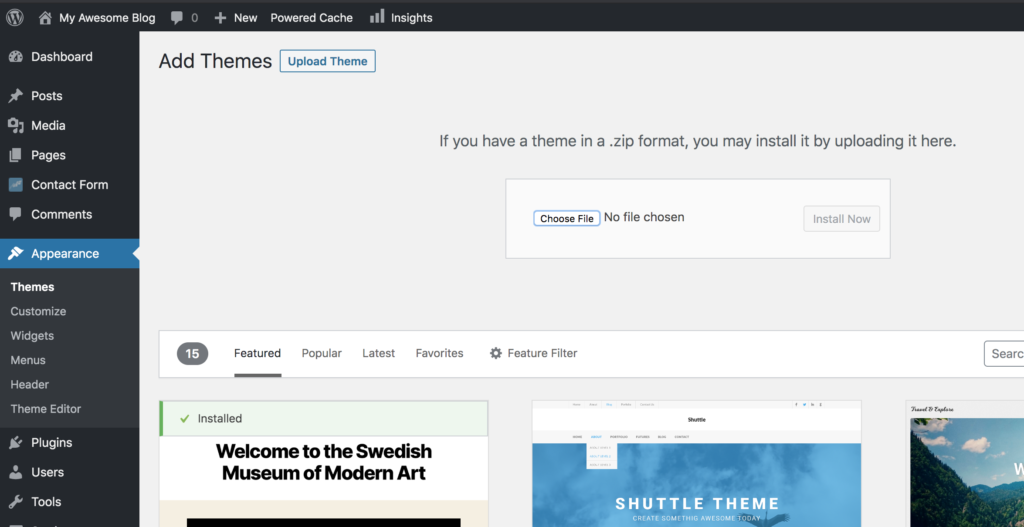
The Add themes page has an option Upload Theme, click on it, then click on choose the file and select the theme zip file you downloaded. Click on install.
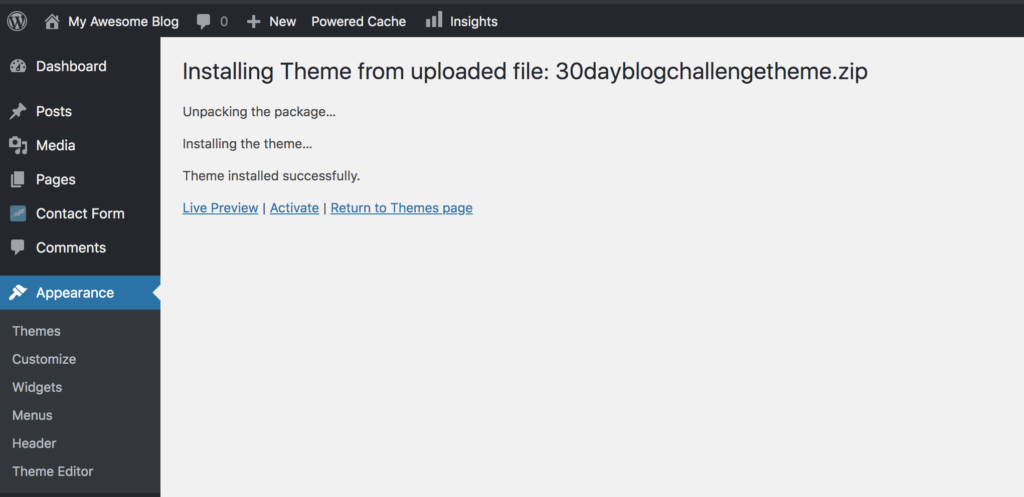
That should install the theme and shows you if the theme is installed successfully. Now click on Activate.
It should take you back to the Themes page with the message “New theme activated”. Click on Visit Site.
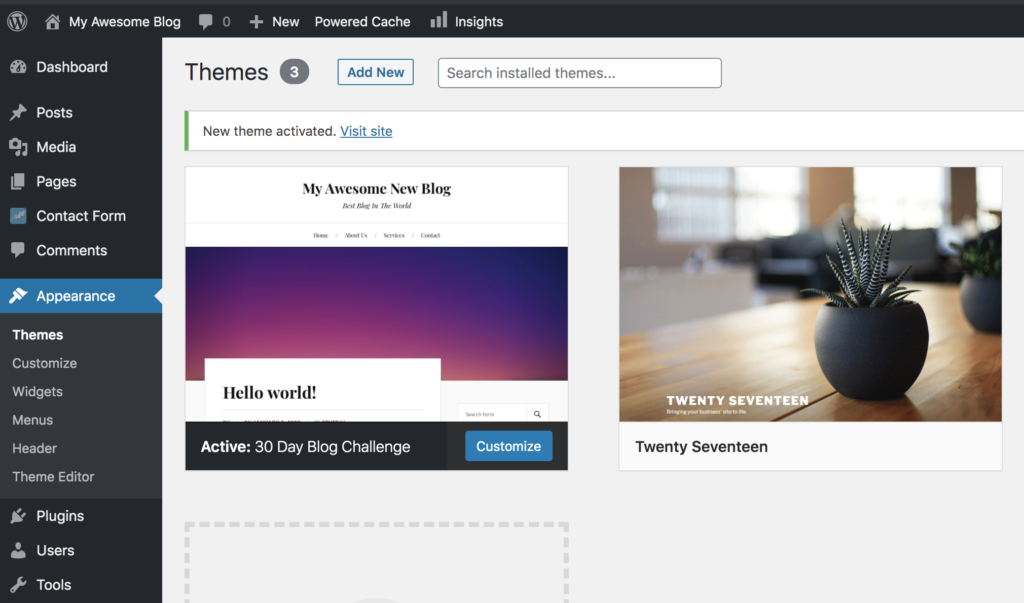
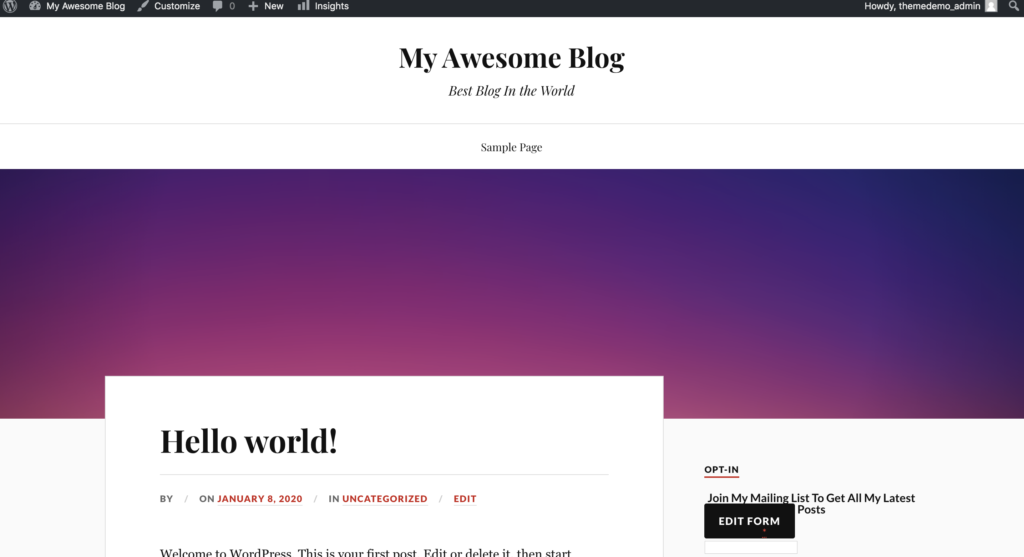
You can now see that your blog is updated with the new theme. We will still need to do a few more customization. So click on Customize button in the top of the page on the black admin bar. You can also navigate to Appearance->Customize from your admin dashboard.
Customize
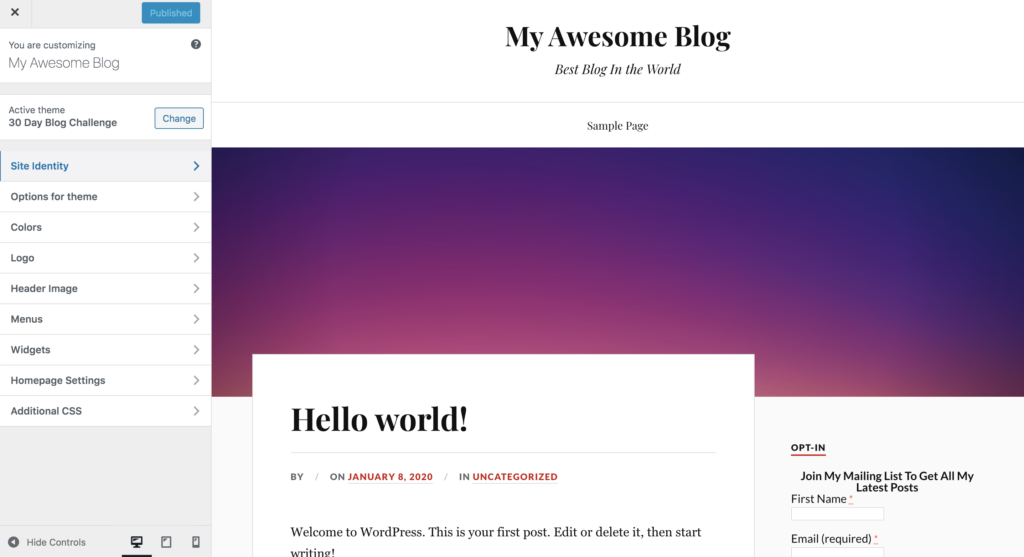
Remember this is a basic starter theme and you can customize a few options here. Click on Site Identity first.
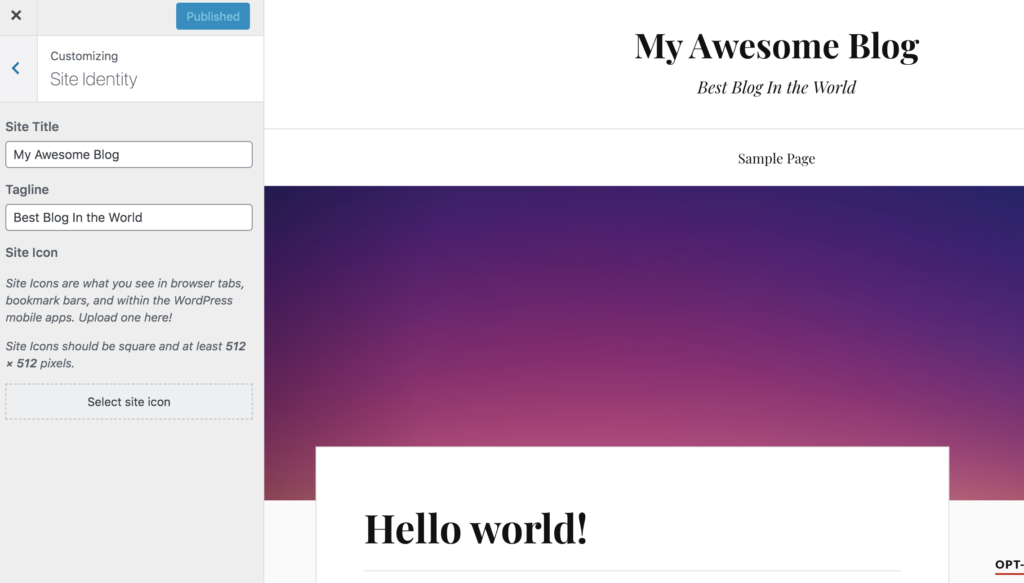
You can change your site title and tagline here and that will display centered in the top of the page. This also acts as a text-based logo for now. Click on Publish at the top of the customize menu so your changes are saved. Click on the left arrow ‘<‘ to go back to the previous menu.
We can customize a few more things now.
Next click on options for theme and select ‘Show Sidebar on Mobile'. Click on Publish at the top of the customize menu so your changes are saved. Go back to the previous menu.
Next click on colors and you can select a color for your Accent color. Click on Publish at the top of the customize menu so your changes are saved. The default is set to #CA2017. Go back to the previous menu.
You can change the logo and header image through the options here.
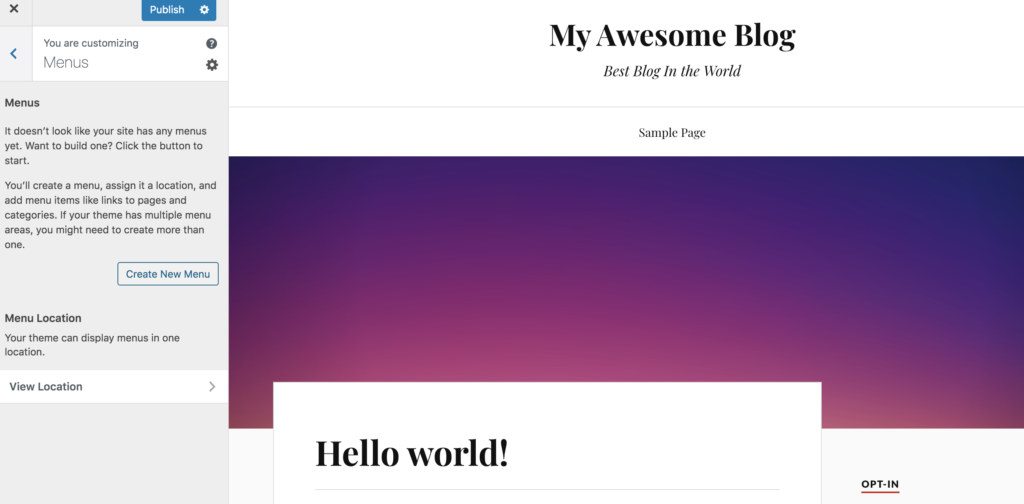
Next click on Menus-> Create New menu.

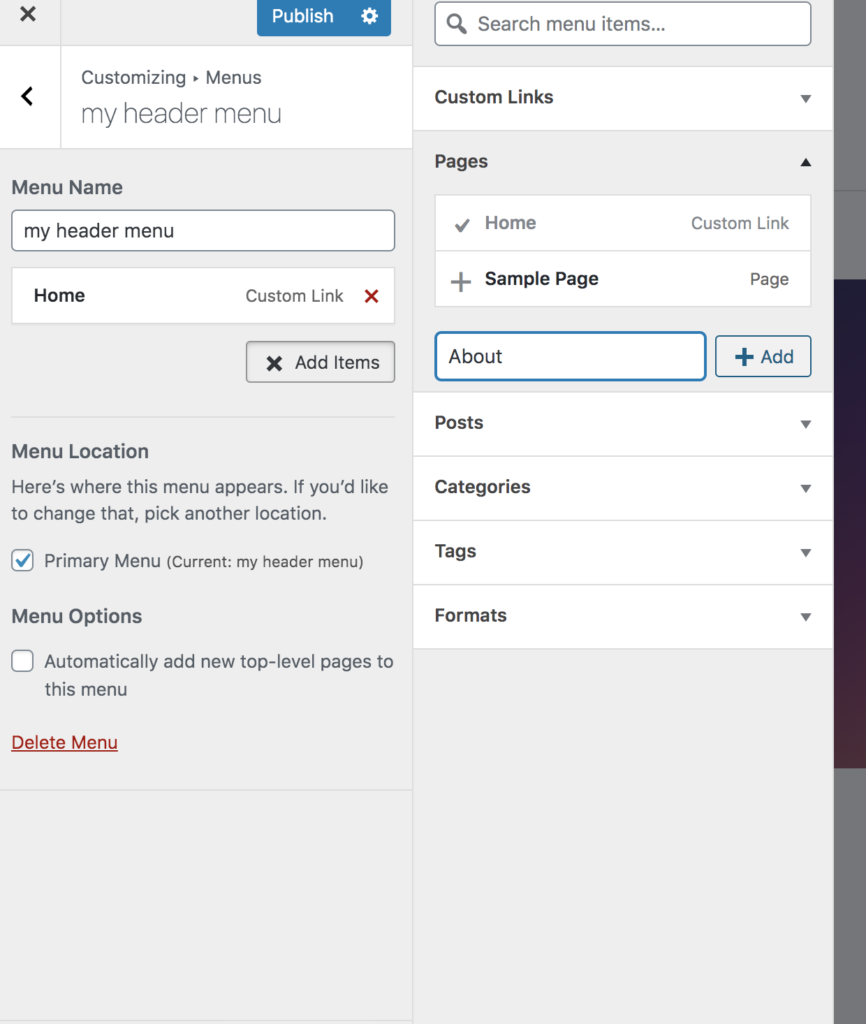
Enter the menu name as ‘my header menu' and select the primary menu as the menu location and click on Next.
Click on the + icon next to Home and it will add to the menu. You can also add more pages by entering the name ‘About' and click on +Add. This will add a page and add that page to the menu.
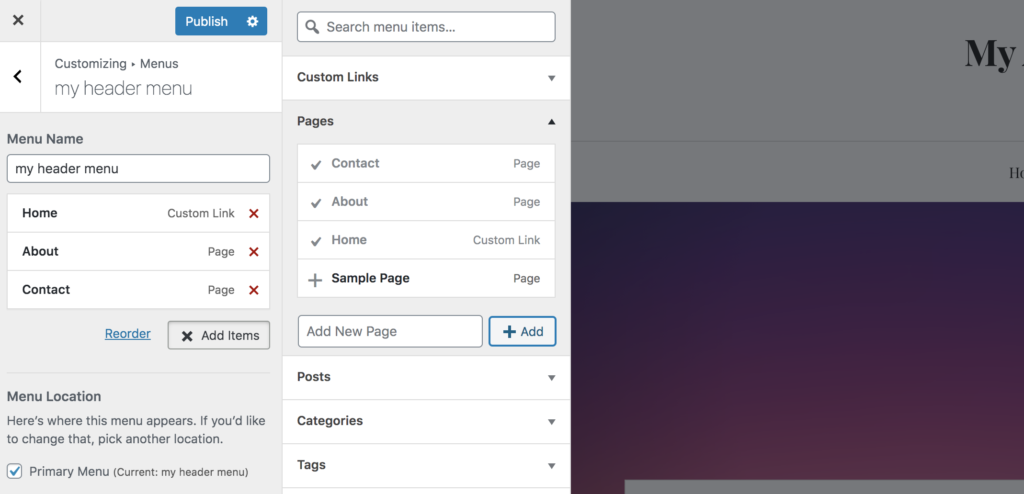
You can also add a contact page and any pages you see fit. We will still need to create content for these pages later. Click on Publish at the top of the customize menu so your changes are saved. Go back to the previous menu. and go back again to the previous menu.
Next, we will customize widgets. Click on widgets. This starter theme comes with 4 widget areas. Click on Sidebar and depending on your blog, you will have a number of widgets here already.
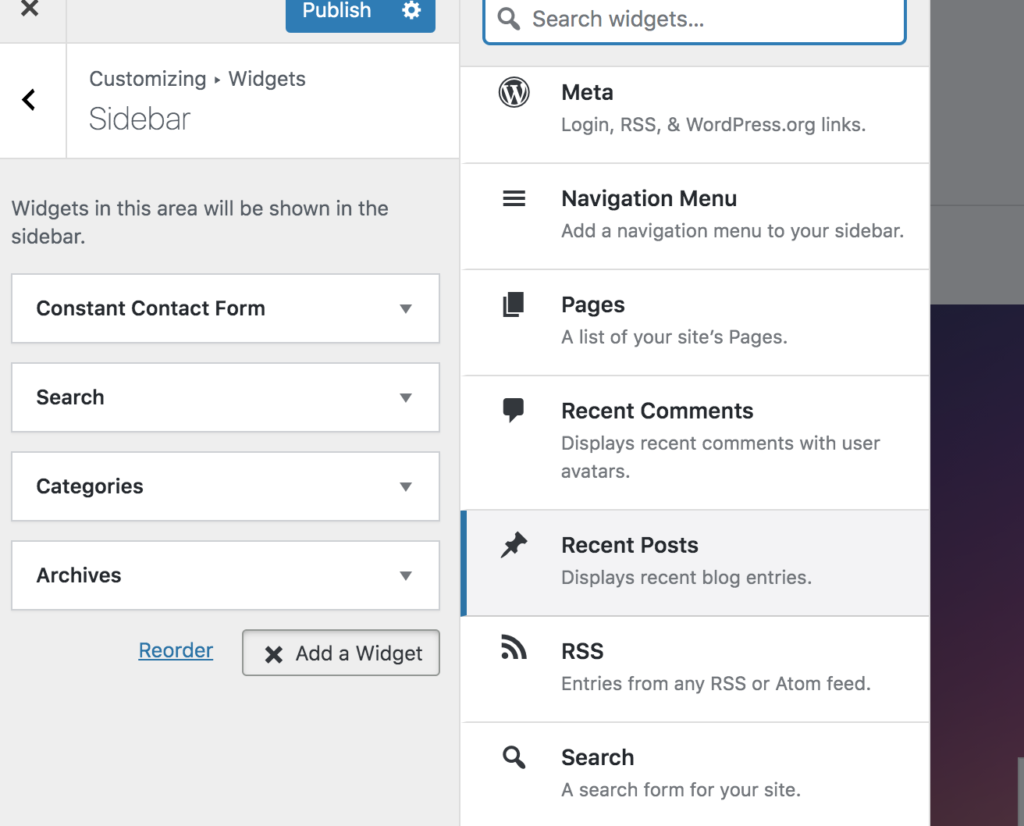
Click on add widget and choose recent posts, enter the title as ‘Recent Posts' and click done.
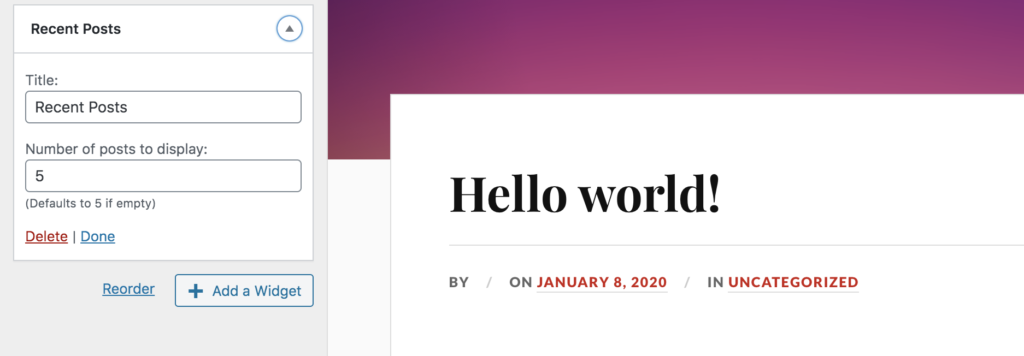
Add more widgets to your sidebar widget area. We suggest adding ‘Recent Comments', ‘Categories', ‘Archives'. You can also reorder the widgets by drag and drop. When you are finished, it looks like this. Click on Publish at the top of the customize menu so your changes are saved. Go back to the main customize menu.

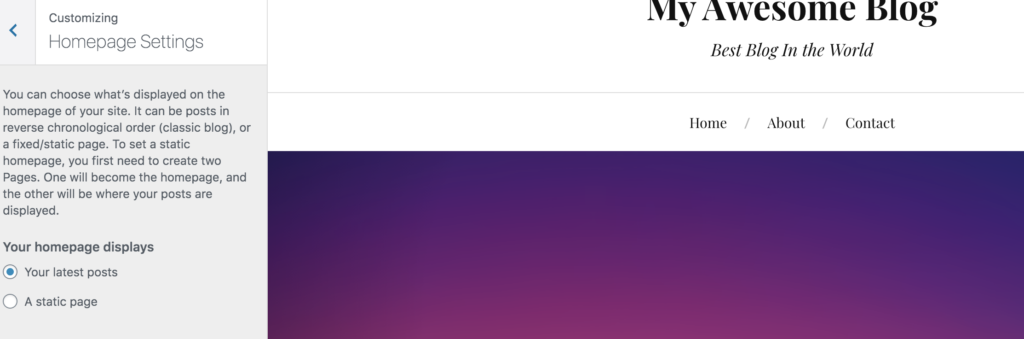
Next click on Homepage settings. Please select ‘Your latest posts' under Your homepage displays. Go back to main customize menu.
Next, we will add some custom styling for our constant contact forms. Click on Additional CSS and copy-paste the following code. and click on Publish at the top of the customize menu, so your changes are saved.
.ctct-form label {
    display: block;
    margin: 12px 0;
    line-height: 1;
}

.ctct-form-field
input[type="text"],
input[type="email"],
input[type="submit"]
{
      display: block;
    width: 100%;
    padding: 20px;
    margin: 0;
    border: 1px solid #ddd;
    font-family: 'Lato', Helvetica, sans-serif;
    font-size: 1rem;
    color: #111;
    }

.ctct-form-field
input[type="submit"]
{
display: inline-block;
    padding: 16px 20px;
    margin: 0;
    background: #111;
    border: none;
    border-radius: 3px;
    font-family: 'Lato', Helvetica, sans-serif;
    font-size: 0.8rem;
    font-weight: 900;
    text-transform: uppercase;
    letter-spacing: 1px;
    color: #fff;
    -webkit-appearance: none;
    }

.ctct-form-field
input[type="submit"]:hover
{
    background: #f4f4f4;
    color: #000000;
    }

.ctct-form-field input[type="checkbox"] + label {
    display: inline;
    font-weight: 400;
    letter-spacing: 0;
    margin: 0 0 0 5px;
    text-transform: none;
}

/* ## CTCT Disclosure
——————————————— */
.ctct-disclosure

{
display:none;
}
Your finished blog design will look like this. This is again a starter design and good enough to start creating content.
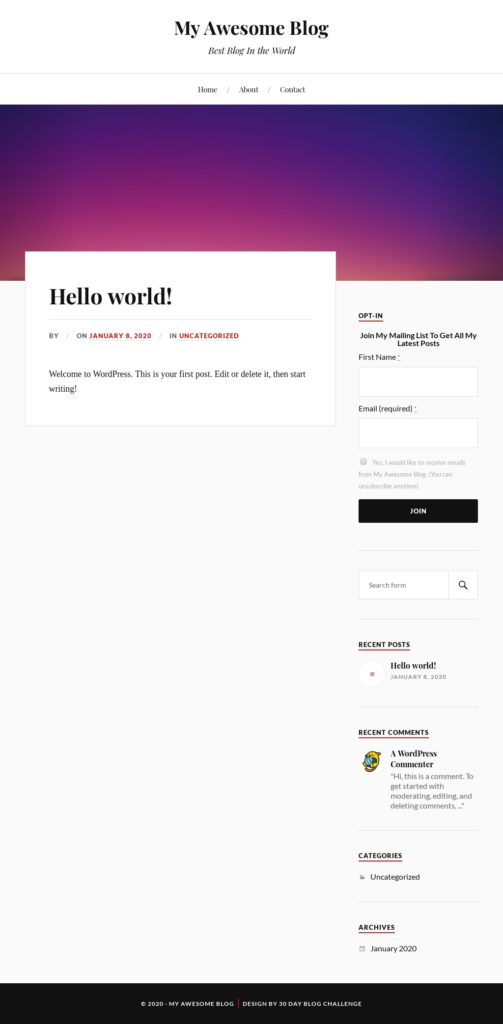
There are 2 pages we created, when we created the menu. We can add some content to it.
Navigate to Pages->All Pages and click on the about page. You can either write about yourself here or simply say ‘coming soon and click on Update in the top right corner to save these changes. You do get a template later in the course which you can use to create a much better “about” page.
Next open contact page and write your contact information here in this page. I usually will leave just my email so my readers can reach out to me. Remember to update the page to save changes.